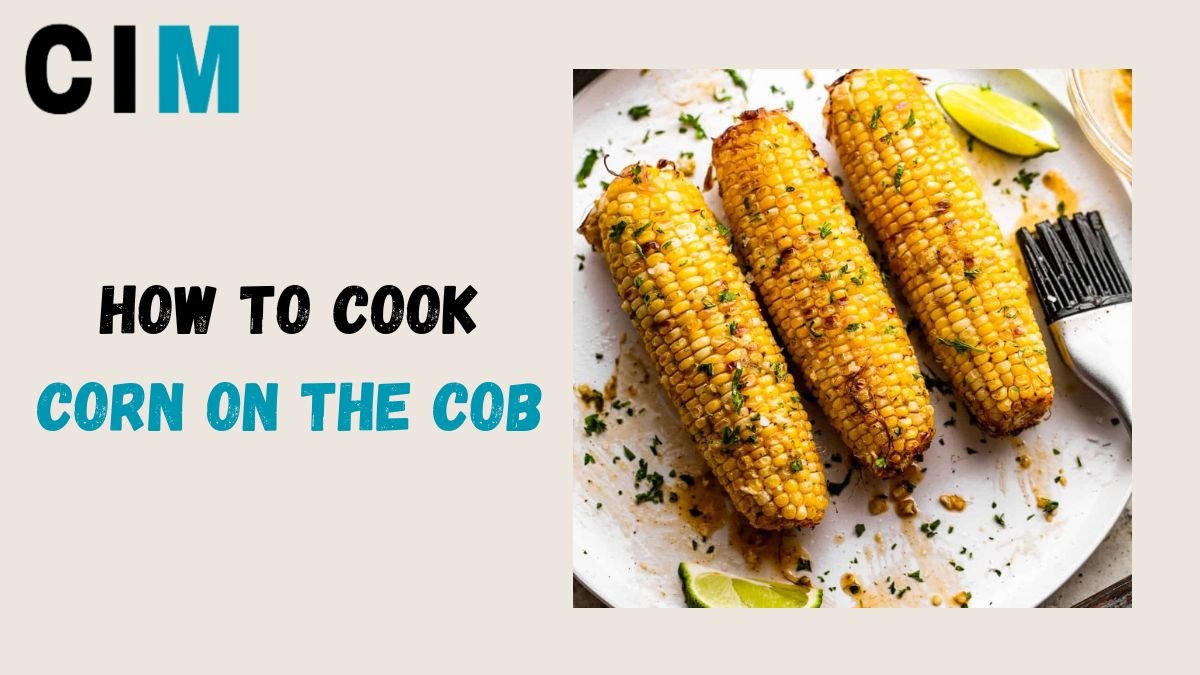
When it comes to indulging in the simple joys of summer, few things can rival the pleasure of sinking your teeth into a perfectly cooked ear of corn on the cob. The combination of tender, juicy kernels and the satisfaction of holding that cob in your hands makes it a quintessential seasonal treat. Whether you’re gearing up for a backyard barbecue, a picnic in the park, or a cozy family dinner, learning how to prepare corn on the cob is an essential culinary skill. In this comprehensive guide, we’ll walk you through the step-by-step process to create a flawless corn on the cob experience that will leave your taste buds singing.
Choosing the Finest Corn

The foundation of an exceptional corn on the cob dish begins with selecting the right ears of corn. Follow these tips to ensure you’re starting with the best:
- Freshness Matters: Look for corn that has bright green husks and moist, plump silk. The husks should tightly envelop the kernels, indicating freshness.
- Feel the Kernels: Gently press a kernel with your thumbnail. If it releases a milky liquid, it’s at the perfect stage of ripeness.
- Avoid Blemishes: Inspect the husks for mold or brown spots, as these can indicate over-ripeness or poor quality.
The Corn on the Cob Cooking Process
Step 1: Husking and Preparing
- Begin by peeling back the husks, leaving them attached at the base to create a natural handle.
- Remove the silk threads by hand or with a soft brush. A damp paper towel can also help in this process.
Step 2: Cooking

Boiled Corn on the Cob
- Fill a large pot with water, adding a pinch of salt to enhance flavor.
- Bring the water to a rolling boil.
- Gently place the husked ears of corn into the pot.
- Allow the corn to cook for about 5-7 minutes until the kernels are tender.
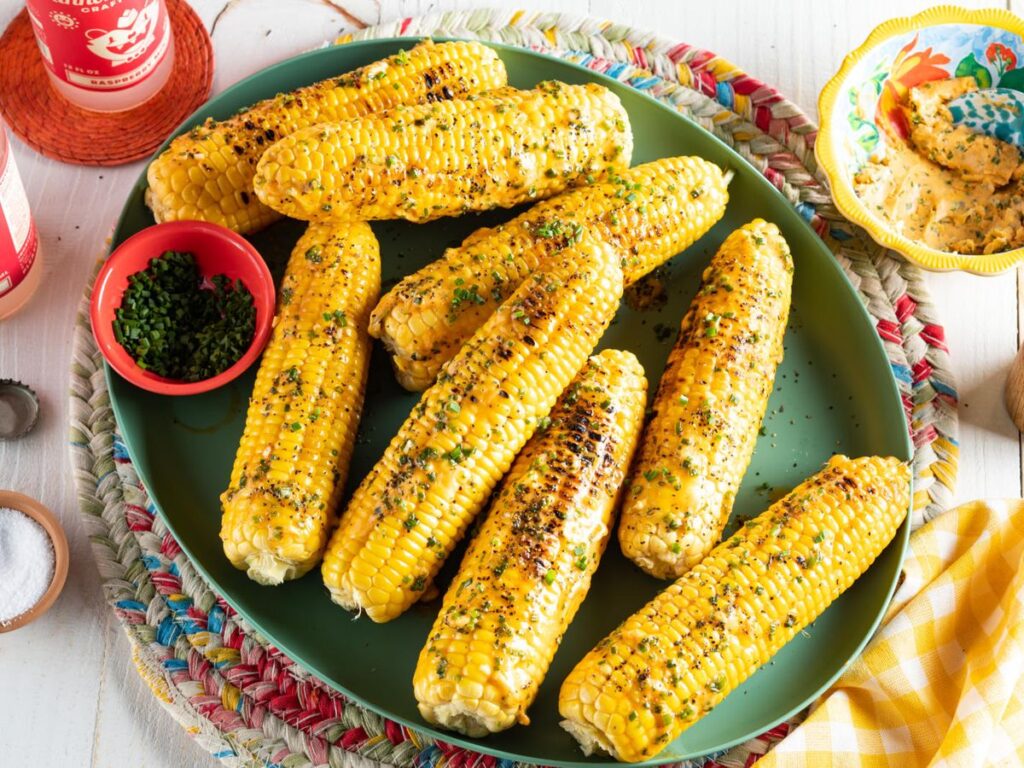
Grilled Corn on the Cob
Grilling Corn on the Cob is not a difficult task. Just follow these tips:
- Preheat your grill to medium-high heat.
- Brush each ear of corn with a light coat of melted butter or oil, and season with salt and pepper if desired.
- Place the corn on the grill and cook for about 10-15 minutes, turning occasionally until the kernels are slightly charred.
Microwave Corn on the Cob
- Place one to two ears of corn in the microwave. You can cook more if your microwave is spacious enough.
- Microwave the corn on high for about 3-5 minutes per ear. Cooking times may vary depending on your microwave’s wattage and the number of ears you’re cooking.
- Carefully remove the corn from the microwave using oven mitts or a kitchen towel, as it will be hot.
- Let the corn sit for a minute or two before peeling back the husks and removing the silk.
- Season the corn with butter, salt, and other desired toppings, and enjoy!
Air Fryer Corn on the Cob
- Start by preheating your air fryer to 375°F (190°C).
- Peel back the husks of the corn, but leave them attached at the base for easy handling.
- Remove the silk threads from the corn.
- Lightly brush the corn with melted butter or olive oil for added flavor and browning.
- Place the prepared corn in the air fryer basket in a single layer. You may need to cook them in batches if your air fryer has limited space.
- Cook the corn in the air fryer for about 10-15 minutes, turning them halfway through the cooking time to ensure even browning.
- The corn is ready when the kernels are tender and slightly charred.
Smoked Corn on the Cob
- Begin by soaking your corn, husks and all, in water for about 30 minutes. This helps prevent the husks from burning during the smoking process.
- While the corn is soaking, prepare your smoker. Preheat it to a temperature of 225°F (107°C).
- Once the corn has soaked, gently peel back the husks and remove the silk threads from the corn.
- Brush the corn with melted butter or your preferred oil for added flavor.
- Season the corn with your favorite herbs and spices. A mix of salt, pepper, and smoked paprika works wonderfully.
- Place the corn back inside the husks and tie the tops with kitchen twine to secure them.
- Arrange the corn in the smoker, ensuring there is enough space between them for proper smoke circulation.
- Smoke the corn for approximately 45-60 minutes, or until the kernels are tender and have absorbed the smoky flavor.
- Check the corn occasionally and rotate them to ensure even smoking.
Fried Corn on the Cob
- Begin by husking the corn and removing the silk threads from the kernels.
- Using a sharp knife, carefully cut the kernels off the cob. Place the kernels in a bowl and set them aside.
- In a skillet, heat oil over medium-high heat. You can use vegetable oil, canola oil, or any oil suitable for frying.
- Once the oil is hot, add the corn kernels to the skillet in a single layer.
- Let the corn kernels cook without stirring for a few minutes, allowing them to develop a slightly crispy exterior.
- Stir the corn occasionally to ensure even frying. You’re aiming for a golden-brown color.
- Season the corn with your preferred spices. A touch of salt, pepper, and a sprinkle of paprika can enhance the flavors.
- Fry the corn for about 5-7 minutes, or until the kernels are crispy and cooked to your desired level of doneness.
- Use a slotted spoon to remove the fried corn from the skillet, allowing excess oil to drain.
- Transfer the fried corn to a plate lined with paper towels to further absorb any excess oil.
Steamed Method
- Fill a large pot with about 2 inches of water. Place a steamer basket inside the pot, ensuring that the water doesn’t touch the bottom of the basket.
- Bring the water to a simmer over medium heat.
- Gently place the husked ears of corn into the steamer basket. Arrange them in a single layer, if possible.
- Cover the pot with a lid to create a steam-friendly environment.
- Steam the corn for approximately 5-7 minutes, or until the kernels are tender and easily pierced with a fork.
- Check the corn occasionally and adjust the heat if needed to maintain a steady steam.
- Once the corn is done, carefully remove it from the steamer basket using tongs or oven mitts.
Serving and Flavoring
Once your corn on the cob is cooked to perfection and cooled down, it’s time to elevate the flavors further. Here are some delightful options:
- Classic Butter and Salt: Spread a generous amount of butter on the warm corn and sprinkle with salt.
- Cheesy Delight: Grate some cheddar or Parmesan cheese over the corn for a savory twist.
- Spicy Kick: Brush the corn with a mixture of melted butter and hot sauce for a spicy, tangy kick.
Handling Leftovers
If, by some miracle, you have leftover corn on the cob, fear not! You can repurpose these delectable kernels into various dishes:
- Corn Salad: Cut the kernels off the cob and toss them with diced vegetables, herbs, and a light vinaigrette for a refreshing salad.
- Corn Chowder: Simmer the kernels in a creamy broth with vegetables to create a comforting chowder.
- Corn Salsa: Combine corn kernels with diced tomatoes, onions, jalapenos, and lime juice for a zesty salsa.
Freezing Cooked Corn on the Cob
Let’s Discover How to Freeze Corn on the Cob for reuse after cooking.
- After following the cooking methods and perfectly tendering the corn kernels on the cob, let the corn cool down to room temperature.
- Gently peel back the husks and remove the silk threads from the corn.
- Cut the cooked kernels off the cob. You can do this by standing the corn upright on a cutting board and carefully slicing it downward with a sharp knife.
- Place the cut corn kernels into a colander or strainer to remove excess moisture.
- Prepare a large pot of boiling water and a large bowl filled with ice water.
- Blanch the corn kernels by placing them in boiling water for about 1-2 minutes. This blanching process helps preserve the corn’s color, texture, and flavor.
- Quickly transfer the blanched corn to the bowl of ice water to cool them down rapidly and stop the cooking process.
- Drain the cooled corn thoroughly.
- Portion the blanched and drained corn into freezer-safe bags or airtight containers. Leave about an inch of space at the top to allow for expansion during freezing.
- Seal the bags or containers, removing as much air as possible to prevent freezer burn.
- Label the bags or containers with the date and contents for easy identification.
- Place the bags or containers in the freezer. Make sure they are placed in a single layer initially to allow for quick freezing.
- Once the corn is fully frozen, you can rearrange the bags or containers to maximize freezer space.
Note: You can store the corn in the freezer, where it can stay fresh for up to 8-12 months.
How to Reheat Corn on the Cob
- Begin by taking the leftover corn on the cob out of the refrigerator. If the corn is still in the husk, remove the husks and silk threads.
- If you have multiple ears of corn to reheat, you can use a large pot or a steamer basket. Fill the pot with enough water to submerge the corn, and add a pinch of salt to enhance the flavor.
- Place the pot on the stovetop and bring the water to a rolling boil.
- Gently place the leftover ears of corn into the boiling water using tongs. Make sure they are fully submerged.
- Allow the corn to heat for about 2-3 minutes. Since the corn is already cooked, this short time is sufficient to warm it through.
- Using tongs, carefully remove the reheated corn from the boiling water and let them drain briefly.
- Place the corn on a serving plate and let them cool slightly before enjoying.
Nutrients in Corn on the Cob
| Nutrient | Boiled | Baked | Air Fryer | Smoked | Grilled | Fried | Steamed |
|---|---|---|---|---|---|---|---|
| Calories (per ear) | 123 | 123 | 123 | 123 | 123 | 221 | 123 |
| Carbohydrates (g) | 27 | 27 | 27 | 27 | 27 | 40 | 27 |
| Dietary Fiber (g) | 3.6 | 3.6 | 3.6 | 3.6 | 3.6 | 4.2 | 3.6 |
| Sugars (g) | 6.2 | 6.2 | 6.2 | 6.2 | 6.2 | 4.6 | 6.2 |
| Protein (g) | 2.5 | 2.5 | 2.5 | 2.5 | 2.5 | 2.8 | 2.5 |
| Total Fat (g) | 1.6 | 1.6 | 1.6 | 1.6 | 1.6 | 13.5 | 1.6 |
| Saturated Fat (g) | 0.2 | 0.2 | 0.2 | 0.2 | 0.2 | 2.0 | 0.2 |
| Monounsaturated Fat (g) | 0.3 | 0.3 | 0.3 | 0.3 | 0.3 | 6.0 | 0.3 |
| Polyunsaturated Fat (g) | 0.8 | 0.8 | 0.8 | 0.8 | 0.8 | 3.7 | 0.8 |
| Vitamin A (IU) | 292 | 292 | 292 | 292 | 292 | 292 | 292 |
| Vitamin C (mg) | 9 | 9 | 9 | 9 | 9 | 9 | 9 |
| Vitamin K (mcg) | 0 | 0 | 0 | 0 | 0 | 0 | 0 |
| Folate (mcg) | 42 | 42 | 42 | 42 | 42 | 42 | 42 |
| Potassium (mg) | 243 | 243 | 243 | 243 | 243 | 252 | 243 |
| Magnesium (mg) | 37 | 37 | 37 | 37 | 37 | 25 | 37 |
| Phosphorus (mg) | 78 | 78 | 78 | 78 | 78 | 103 | 78 |
Please note that the values in the table are approximate and can vary based on factors such as corn variety, size, and cooking time. While there may be slight differences in nutrient content among the various cooking methods, corn on the cob remains a nutritious and flavorful addition to your diet.
Bottom Line
Indulge in the simple pleasure of savoring corn on the cob, a quintessential summer treat. From classic boiling to innovative air frying, each cooking method brings its own unique flavor and texture to the table. Whether you’re relishing the smokiness of grilled corn, the crispy goodness of fried kernels, or the tenderness of steamed cobs, corn’s natural sweetness shines through.
Embrace the art of corn on the cob through step-by-step guides, freezing tips, and even creating a corn-infused pizza. With its rich nutrients, including carbohydrates, fiber, and vitamins, corn on the cob offers a delectable and nutritious experience that’s perfect for any occasion. So whether you’re cooking up a backyard barbecue or a cozy family dinner, let corn on the cob take center stage and bring a burst of summer joy to your taste buds.
You May Also Like:
Quick and Easy Salmon Cakes Recipe